
Help Centre
How to create a blurb with the Custom content component
The custom content component is perfect for when you want to place a text or some content on top of an image, this creates a so called “blurb”. The blurb we are going to create will have a background image with a text placed centered over the image.
Here follows a step-by-step guide on how to create a simple image and text blurb for your site.
Create the component
Step 1
Start by adding the component Custom Content from the component library.
Step 2
Add the image you want as your background. You should always set a desktop image as a fallback but can choose different images for tablet and mobile if you prefer. Do not forget to set the image scaling in the dropdown to the right.
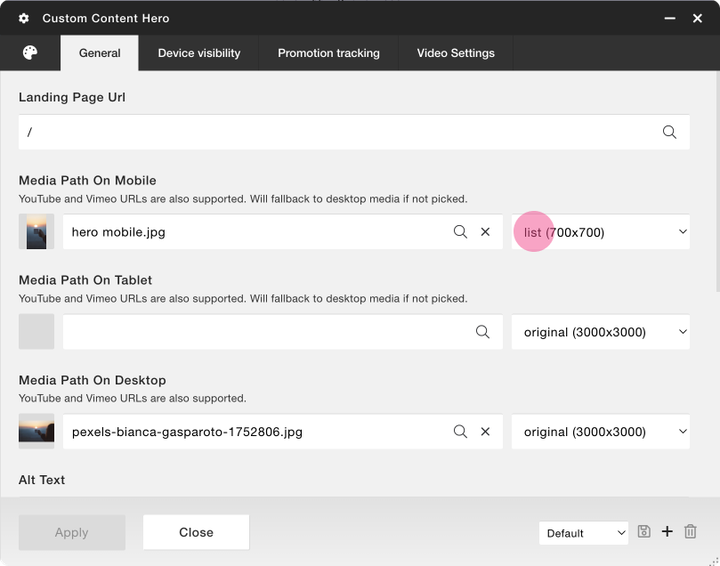
Screenshot of Custom content where mobile has a different image from desktop. Tablet will automatically be set to the desktop image since no image is specified for that device. Note! The mobile image has a different image scaling (list) since it does not need to be as big in mobile devices.
Step 3
Add a text by adding a new Text component inside your Custom Content. Write your text.
Great! You have all the components you need. Now let's get the placement of the text right.
Place the text centered over the image.
Step 1
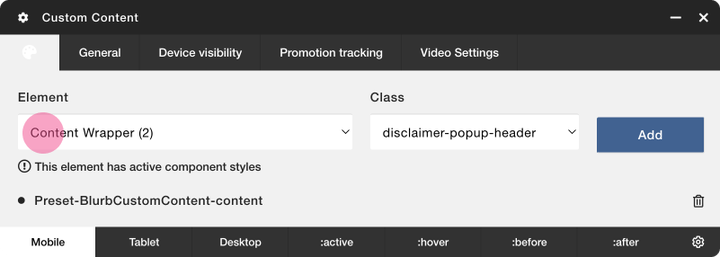
Go to the Custom Contents settings and navigate to the palette. In the Element dropdown choose “Content Wrapper”.
Step 2
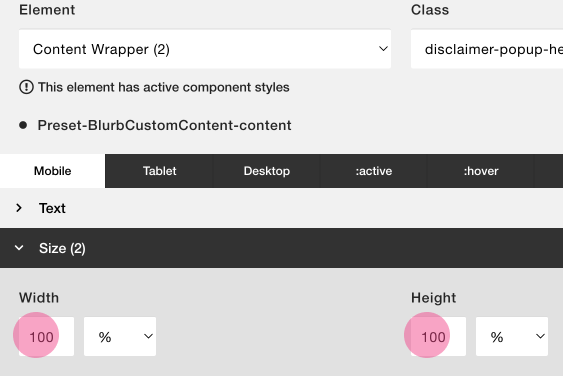
Under the Size tab, set the Width and Height to 100%
Step 3
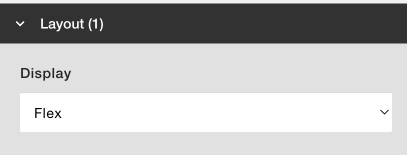
Open the Layout tab and set the Display to Flex.
Step 4
Open the Flex tab and set Justify-content and Align-items to Center.

And you're done! You should now have a text centered over your image.
Modifications on how to create a blurb
Text placed in upper left corner
If you want the text placed in the upper left corner try adjusting the Justify-content and align-items to flex-start. You might then want to add some padding to the text to make some space between the corner of the image and the text. Padding can be added and adjusted under the Spacing section.
Text placed in lower right corner
If you want the text placed in the lower right corner try adjusting the Justify-content and align-items to flex-end. You might then want to add some padding to the text to make some space between the corner of the image and the text. Padding can be added and adjusted under the Spacing section.